
Despite what you might think, opening an account with a traditional web host service like GoDaddy or Hostgator isn’t your only option to get a website online. When you go with one of these outfits, you’re basically renting space on a server, and when you come right down to it, a server is nothing more than a fancified computer.
If you have an unused desktop model laying around somewhere, you’re halfway to owning your own server already. Here are some tips about how you could finish out the job.
In Search of Dedicated Hosting
Most hosting plans, such as the ones offered by the companies mentioned above, are of the shared variety. This means that your website sits on a server somewhere with a bunch of other websites owned by other of the web host’s customers.
The problem with this arrangement is the temptation to put too many websites on a single server than it can reasonably hold, resulting in all of the websites suffering slow page load times and more downtime.
You can pay more to have your website placed on a server by itself – this is referred to as dedicated hosting – or you could build your own server and cut out the middleman entirely.
Step 1 – Decide on Your Server Needs
The first question to ask yourself is how hot of a machine do you need? A surprisingly cheap ($500 or less) desktop server will easily power personal websites for yourself and family.
If you plan to self-host a business website or host gaming activities, you might want to upgrade to a more robust machine.
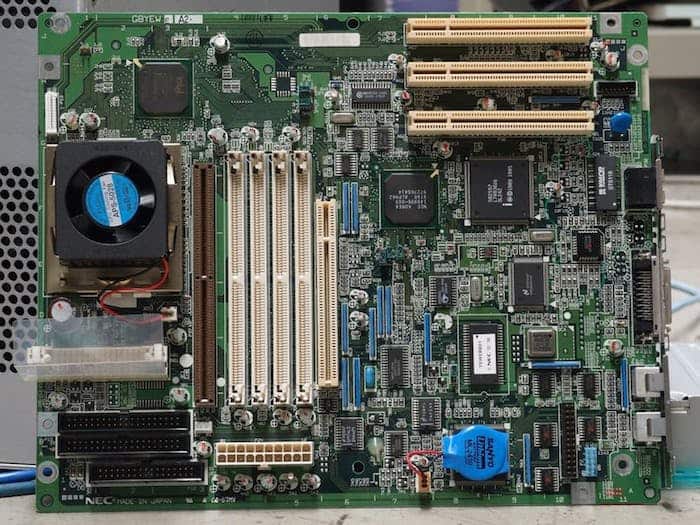
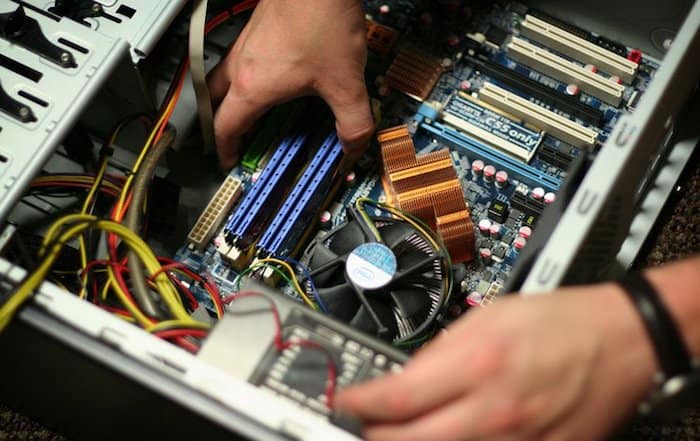
Step 2 – Build the Server
If you’re going with a computer that’s already put together, skip to step 3. For those who want to build one from scratch, you’ll need to buy a CPU, motherboard, RAM memory, hard drive, video card, optical drive, case/tower, keyboard/mouse, monitor, and the operating system.
Whether you buy one, repurpose an old computer, or build one from scratch, you now have a serviceable server.
Step 3 – Install the Operating System (OS)
The operating system is the brains of the server or any other computer for that matter. Insert the first OS disk and follow the instructions.
After entering some preliminary information, you’ll be prompted to install and configure the network, create a user name and password, and partition your hard drive. After the reboot, you’ll finish setting up the server.
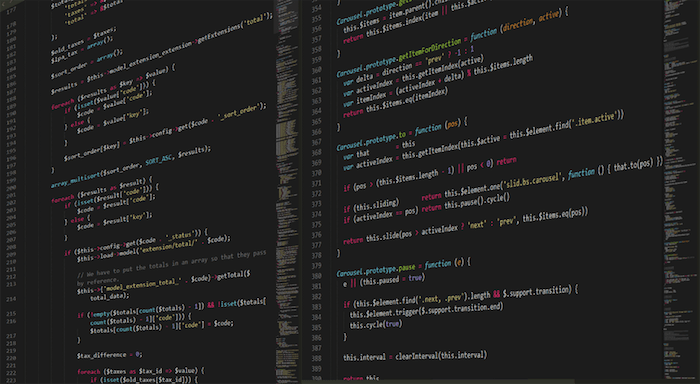
Step 4 – Setting Up to Serve Your Website
Obviously, there is more detail to this process than fits within this article, but here are the major steps to getting your website online. Create a static IP, set up and import a database, and point your domain at the server (use cPanel from your registrar for this).
If you get stuck at any particular step, there are boatloads of instructional videos over at YouTube to get you unstuck. A final consideration would be to install some sort of performance monitoring software for your bandwidth and then another piece of software to manage the database.
Final Thoughts
Just like that, you’ve got a dedicated server that you control completely. No more bowing at the feet of your web host, begging for more bandwidth.
If you start from scratch, you should be able to put a server together for less than one thousand dollars. Good luck!