
Guide to CPanel
 Nathan Finch——Last Updated on March 10, 2025
![]()
![]()
![]()
![]()
![]()
![]()
If your web hosting server is Linux-based, chances are that it is powered by cPanel. cPanel makes it possible for you to manage all of the services of your server from one location. Because of its ease-of-use and functionality, cPanel is the industry standard. As such, most developers are acquainted with it.
A Quick Intro to CPanel
How to Log In
 Enter the domain name for your website into the URL box. Then add “/cPanel”. As an example, if your website is funnycats.com, you would enter: “funnycats.com/cPanel”.
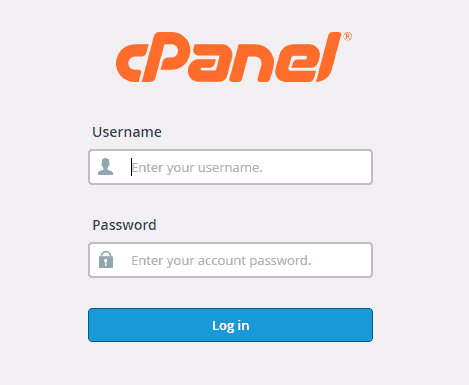
- You are now at the cPanel login page. Here you will be asked for your password and username. After you enter this information, click the “Log in” button.
- Alternative 1: Go to your hosting provider's panel and find a direct link to cPanel. If you cannot find it, contact the support team
- Alternative 2: Enter your website address followed by 2082 for HTTP or 2083 for HTTPS.
Understanding the Interface
Once you login to cPanel, you will see an interface similar to this one. In 2019, cPanel introduced a theme called “Paper Lantern.” This interface is the heart of your cPanel user account. This is where you are going to find important information and have the ability to update cPanel.
The cPanel interface is broken down into the following sections:
- Navigation Bar – Every interface on cPanel is going to show the navigation bar. This is where you go to get information about your account, where you login and logout of your account, as well as where you change certain settings.
- Sidebar – All of the interfaces on cPanel will show a sidebar. This is where you can access the Home icon, access different cPanel features, and as a reseller customize content. You also have the User Manager icon that makes it possible for you to navigate to the user Manager Interface.
- General Information – This is where you will see general information about your cPanel account. This includes things like the current user, the primary domain, and whether the current account has a shared IP address or dedicated IP address.
- Features – Here you will see the features that are available to your account. These features are put together in groups based on their functionality
- Statistics – This area shows usage statistics for your cPanel account, including:
- Bandwidth
- Disk usage
- File usage
- MySQL disk usage
- Addon domains
- Sub-domains
- Aliases
- Email accounts
- Auto responders
- Custom third-party statistics
How to Install WordPress
Hosting companies include auto installer scripts to make it easier for you to install WordPress via cPanel. The three most popular options are:
- ☑️ Softaculous
- ☑️ QuickInstall
- ☑️ Fantastico
For the purpose of this guide, we are going to discuss installing WordPress using Softaculous.
What Is Softaculous?
This is an auto installer script that makes installing web applications like WordPress easy. Softaculous is used by hosting companies like SiteGround and InMotion Hosting.
Installing WordPress Using Softaculous
- After logging into your cPanel account, look for the Softaculous/WordPress installer icon. They should be located in the Auto Installers section. Click on any of the icons highlighted below to launch the auto installer for WordPress.
- When the auto installer for WordPress is activated, you will see the following screen:
- Select “Install Now” and you will be directed to the next form.
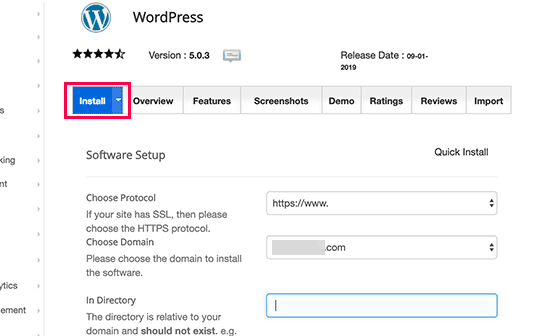
- On this form, you will need to provide some information to allow the WordPress installation to continue.
- Tell Softaculous where you want WordPress to be installed, which is the domain name. Most people opt to install WordPress on the root directory of their domain. For example: HTTP:// funnycats.com. In this case, the box for “In Directory” should be left blank.
- You will need to choose a protocol, be it HTTP://or HTTPS://www. Sites that have SSL and HTTPS will have the option to select https:// or https://www. as protocol.
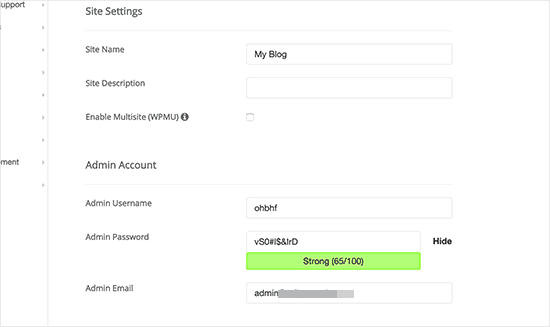
As you scroll down, you will be asked to give a “Title and Description” for your WordPress site. You don’t need to overthink this because it is something you can change later on.
You will need to select a username, password, and admin email address. You will notice that Softaculous will automatically give you a strong password using a non-dictionary word.
You can change it, but it is recommended that you select a password that uses password selection best practices.
Additionally, it is important to enter the right email address. Your email address is what WordPress is going to use to communicate with you. If you forget your password, your email address is how the link is going to be reset.
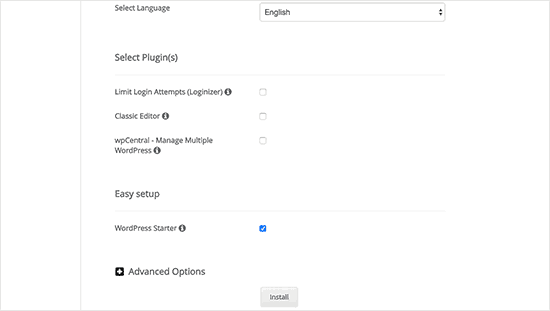
When you scroll down, you are going to see a number of optional choices.
After reviewing them, click the install button. Using the settings you have provided, Softaculous is going to begin the install process.
You need to be patient and allow the progress bar to reach 100 percent or the install may not happen successfully.
The install process should take around one minute. Once WordPress has been installed, you will get a notification of a successful install.
You will also see links telling you how to login to your new install. Usually, you can log into WordPress by using: YOURDOMAIN.com/wp-admin/. You will use the username and password you created during the setup process.
cPanel Security Settings
Securing Your Password
Once you have your cPanel account up and running, it is recommended that you change your password when you login to cPanel for the first time. Here’s how you do that:
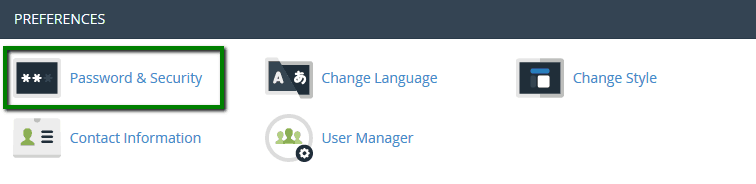
- In preferences, click on the Password & Security menu.
- You will be asked to enter your old password as well as the new password you want to use. After you do this, click the “Change Your Password Now” button at the end of the form.
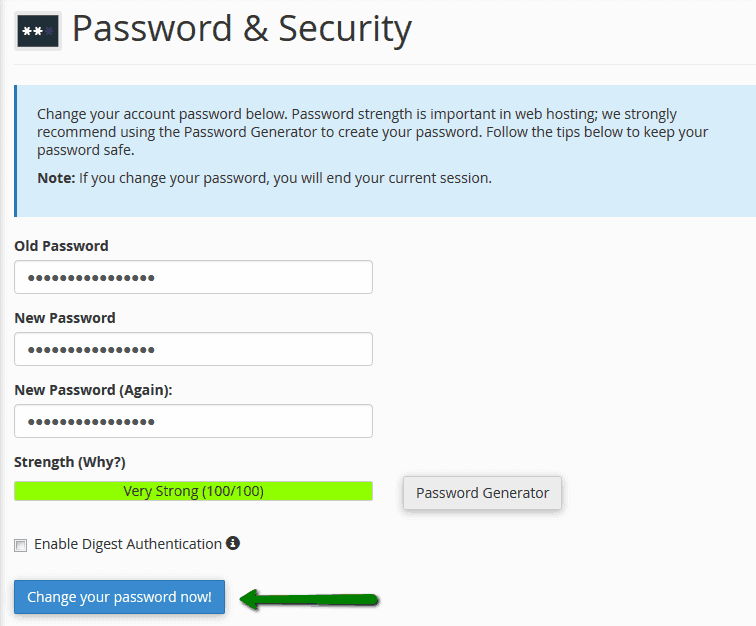 CPanel offers you a password generator that will automatically create a strong and secure password. Or you can create a password that you will remember.
Still, it’s important for you to choose a password that employees safe password policies.
The ideal password should have at least eight characters with alphanumeric numbers and special symbols.
You don’t want passwords that have anniversaries, birthdays, or words that are found in the dictionary.
Enable CPHulk Brute Force Protection
CPHUlk is what protects your server from becoming a victim to a brute force attack. A brute force attack is when an automated system tries to guess your password by trying one combination after another.
CPHulk will block an attack and show that the login is no longer valid if there are repeated requests. You can prevent yourself from getting locked out by adding your IP address to the whitelist.
To access this, follow this path: WHM > Security Center section > cPHulk Brute Force Protection

Adding a New Domain Name
You can add a new domain to your cPanel by clicking on “Addon Domain” in the Domains section.
This will allow you to create a standard domain name that can then be used in the creation of a new website. With cPanel, multiple domain names can be managed from the same control panel.
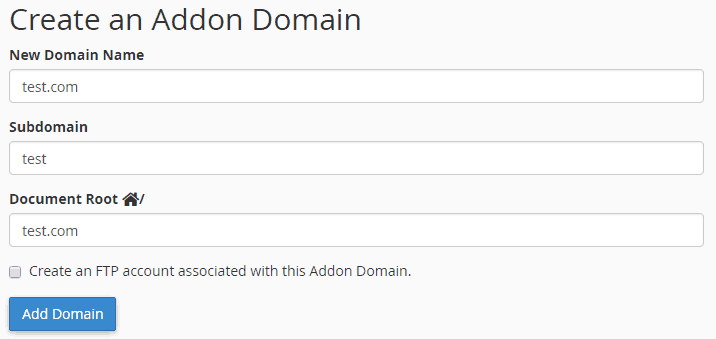
Log into your hosting cPanel. Click Addon Domains. You will find this under the Domains section. Here you will be presented with a form that you will need to fill out when creating the new domain. Here is an explanation of the fields you will see in the form:
- New Domain Name - This is where you going to put in the name of the domain you want to create. For example: veryfunnycats.com
- Sub-domain – If you are just going to use one domain, then you can leave this section blank. cPanel will add the sub-domain automatically. If you’re adding multiple domains at the same time, for example, veryfunnycats.com and veryfunnycats.gov, you will need to modify it.
- Document Root - This field will automatically populate.
- Create an FTP Account - This is optional, allowing you to create FTP accounts for each new add-on domain.
- Click the “Add Domain” button.
And you’re done. Now, you can start uploading files to the new sub-folder that will be found in File Manager on your cPanel account.
Remove an Addon Domain

You can remove an Addon Domain by scrolling down to “Modify Addon Domain”. Next, press the link to remove the domain. The icon for the link is a garbage can. It is found under the “Actions” column.
cPanel will also allow you to create and redirect sub-domains.
Backups
Failure to back up your site can have disastrous effects, especially if you use your site for business. cPanel makes it possible for you to manually backup your site whenever you choose. Some hosting companies will manage backups for you as part of your plan. Still, it’s a good idea for you to know how to do it manually.
Start by using the “Backup Wizard” icon in the Files section of cPanel.
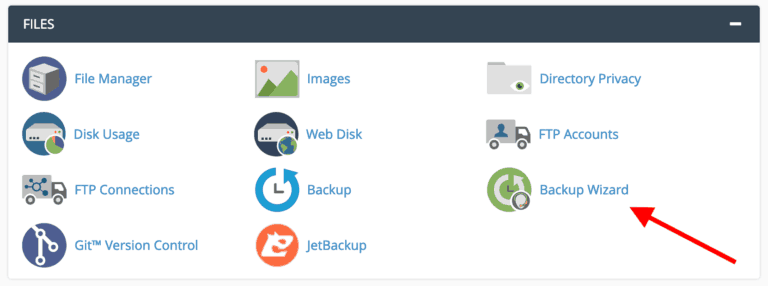
After you click the link, you will be directed to the screen:
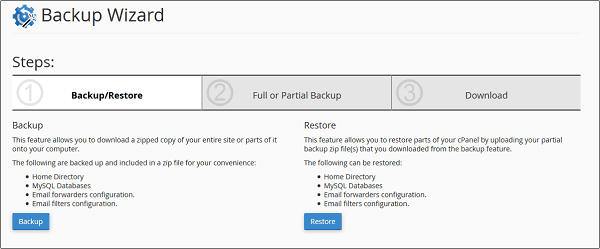
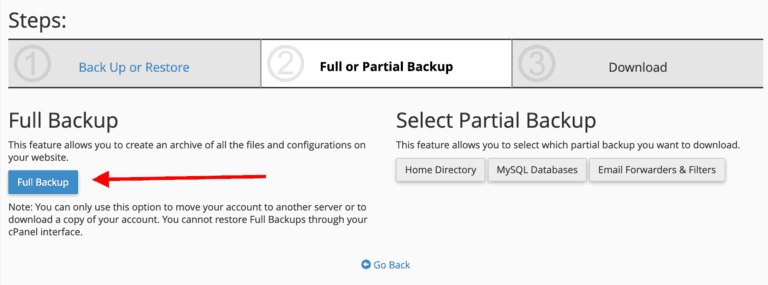
Click "Back Up." This will start the backup process. You’ll be given the option to select a full back up or a partial back up. You may want to have your site back up to an external drive or to a different secure location.
Preferences
Update Contact Information
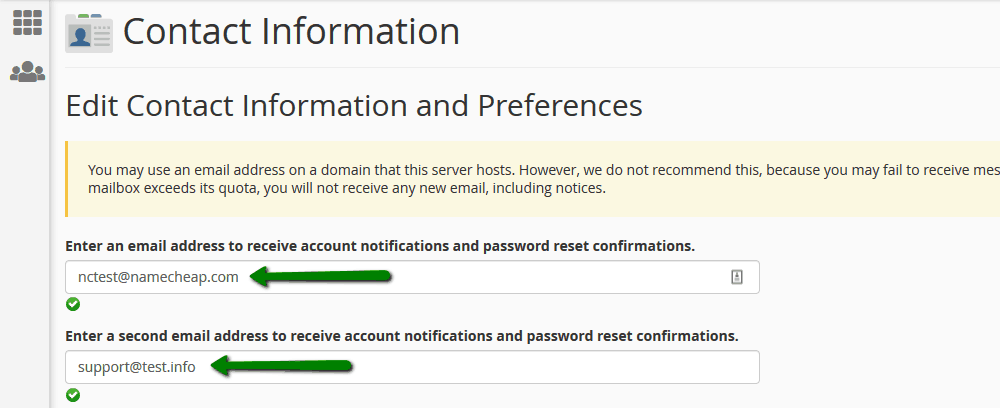
If your contact information is not up-to-date, cPanel will not be able to communicate with you when there is a malfunction or configuration issue.
You need to choose an email address that is not attached to any domain name being hosted in cPanel. This because if something goes wrong with the configuration of your host, your email may be compromised as well and it would be impossible to contact you.
Under “Contact Preferences” there are a number of boxes that allow you to select the conditions when you want cPanel to contact you. We recommend that you select all of them because they all could alert you to suspicious activity or a problem with your hosting.
Adding Another User
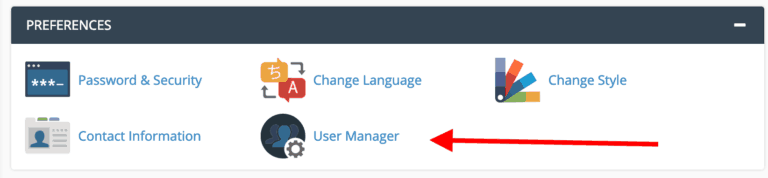
You will want to create a unique user profile for anyone who is going to help you manage your website. To do this, go to the “Preferences” section and click on “User Manager.”
You will see all the accounts that are currently set up in your cPanel.
On the far right, you’re going to see three icons. They are:

 Envelope – Indicates an email account is set up on the system
- Truck- Indicates the person has an FTP account
- Disk Icon – Indicates the user has access to web disk services in cPanel.
With the truck and the envelope icons, blue means that the account is active, and gray means that the account is not set up.
It’s easy to edit a user, change their password, delete them, or make any other adjustments. You can add a new user by clicking the “Add a User” button located at the top right corner.

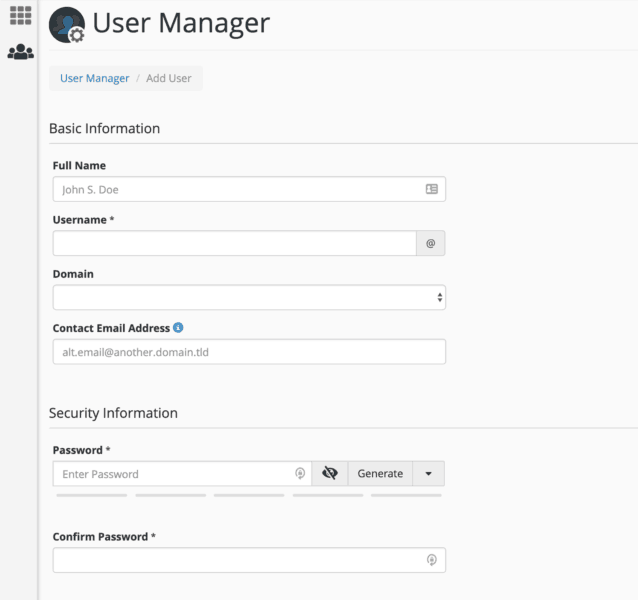
Next, you will be taken to the following screen:
You will be able to add the username and the domain that they have access to.
You will also be able to set up their email accounts, their FTP accounts, and grant them permission for Web Disk.
With this guide, we have barely scratched the surface of what cPanel can do.
Conclusion
Our hope is that by giving a quick overview of cPanel, discussing the installation of WordPress, reviewing basic security settings, discussing managing domains, showing how to do a website backup, and reviewing basic preferences, we have sent you on your way.
We will review in detail other aspects of cPanel in future article. Until then, thank you for reading and please feel free to to read our main guide to the best web hosts.
Good luck and may your cPanels treat you well.